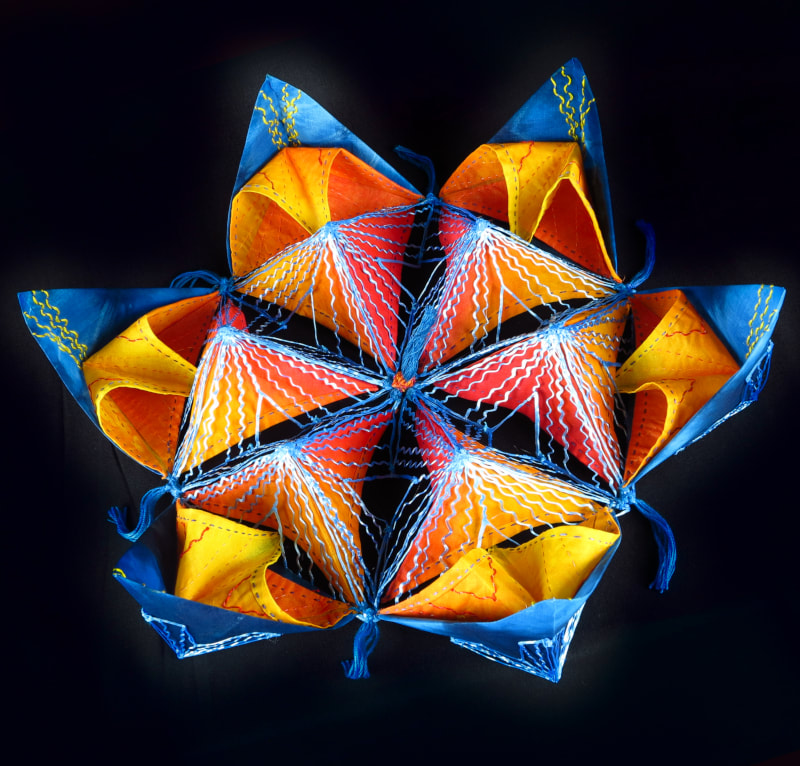
 Nocturnal Glow 17" x 17" x 6" 2021 Hello again, This is a new piece that I have just finished which I hope will be going off to an event in Chicago in November. I have submitted it for consideration to the juror and am keeping my fingers and toes crossed that they will like it! It was really interesting to make as I was playing with some new gadgets - different types of 3D printers. I have been reading a lot about them recently and wanted to see what they could do and whether they would be a useful addition to my toolkit. As you can see, you can make some very cool-looking shapes! 3D printers use a filament that is melted and then extruded in layers from a print head to form whatever shape you wish to create. The printing process is done either by a 3D printing machine or more simply, a 3D printing pen. With a machine it is possible to print solid objects, such as a chess piece or a cup,for example. With the right kit incredibly large or complex objects can also be printed, such as prosthetic limbs and a team of researchers from the University of Maine have even printed a boat! You can read more about that here: www.3dnatives.com/en/3d-printed-boat-university-of-maine-161020195/#! Whilst a huge printer that can print a boat would have been fun, I decided to try out somehing a little simpler - a 3D print pen. Toy type pens are fairly cheap if you want to have a try, starting at around £20 or so.
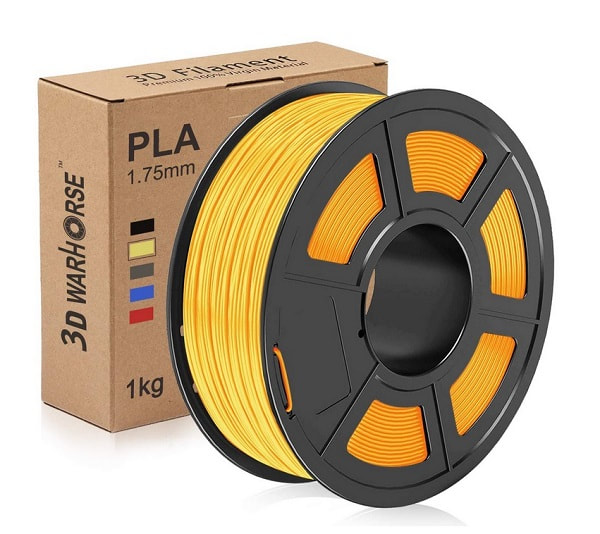
What I have discovered that they are very easy to use - but difficult to use well! The filament I chose to use is called PLA, which stands for polylactic acid. PLA is a vegetable-based plastic material, which commonly uses cornstarch as a raw material, so is therefore non-toxic and biodegradable. It comes in the form of wire filament on a spool, which is fed into the pen or printer where it is heated then extruded out of the pen tip / printer head and deposited in a continuously extruded thread. I did a lot of playing about to see how the pen works and after making a lot of blobs and lines I eventually made some small pyramid shaped cages. 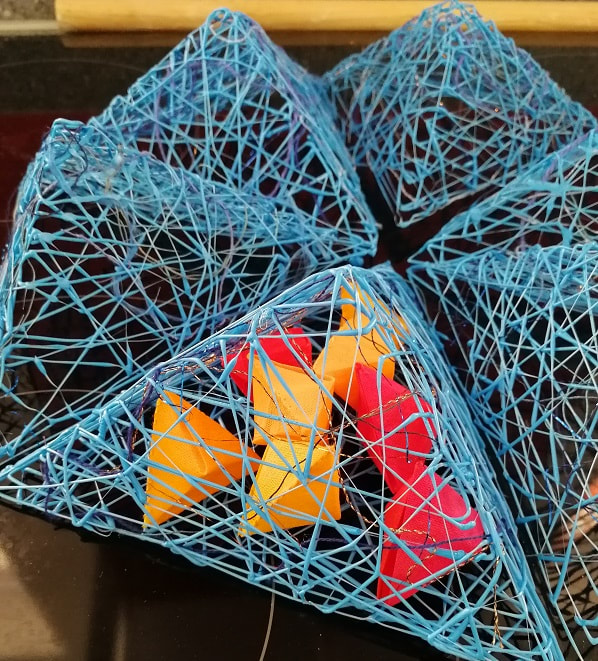 Exploring ideas with a 3D print pen The PLA is surprisingly strong and it is possible to make pretty much any shapes you can think of, so there is a lot of potential. Using the same pyramid shape I also tried some other more delicate lines and produced another set of cages.  Finely printed lines The lines of PLA are much finer in this set so placing a fabric pyramid beneath the printed structure makes themmuch more visible. The complimentary colour makes for a very vibrant combination don't you think? From there I continued to add more pyramids and embroidery as you can see below. The luminoscity of the combination of colours I used meant it was easy to name this piece. 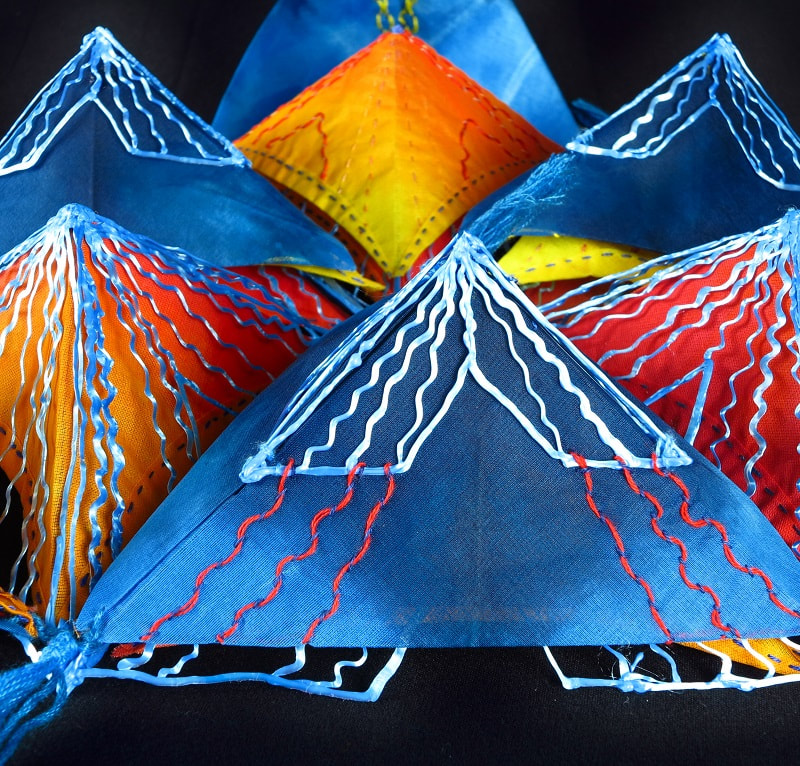 Nocturnal Glow - detail Claire Passmore 2021 I also had fun making a short video which shows the finished piece - I hope you enjoy looking at it. 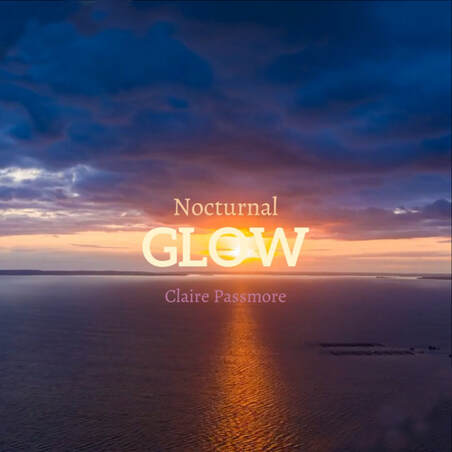 I hope you like it too - and maybe even think about trying out some new tools - it can lead to interesting and sometimes surprising results. Keep well,

Deep Dive, 2021 Claire Passmore
You probably haven't noticed but from today my blog posts are now part of my website. Until now my blog was part of an old website I stopped using about 5 years ago - as my website provider has never been able to transfer it. It didn't really matter until a good friend told me that my blog now has adverts and banners splashed across it - and I really don't want all that junk - so here we are. All my old blog posts going back to 2014 are still at www.clairepassmore.weebly.com/blog, but going forward I will be posting here, at www.clairepassmore.com/blog. More interesting than the whereabouts of my blog I have also been exploring some new ideas for 3 dimensional work. This is how one of the pieces has turned out: It is called 'Deep Dive' and is very different from any of my other work, but I absolutly loved making it! The idea for a quilt about a whale's tail breaking the surface of the ocean has been lingering for a long time, but it took until now for it to be realised. Here is the page from a very old sketchbook, created in about 2015 that started it all off. 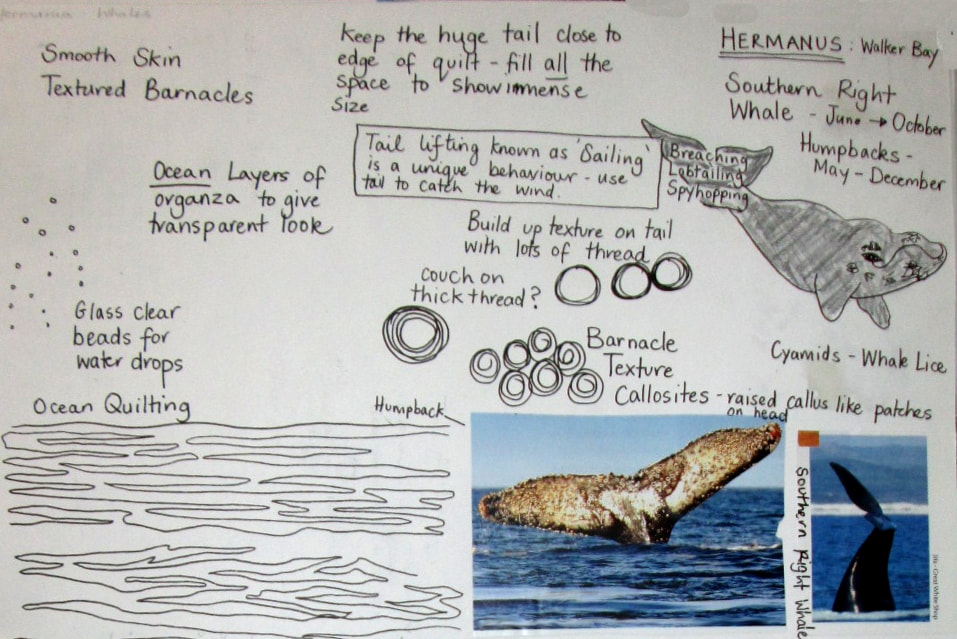
The whole piece is made in 3 parts: the tail, the swirling water and a net which supports the swirls. Ironically it is barely visible and took the longest to make!) 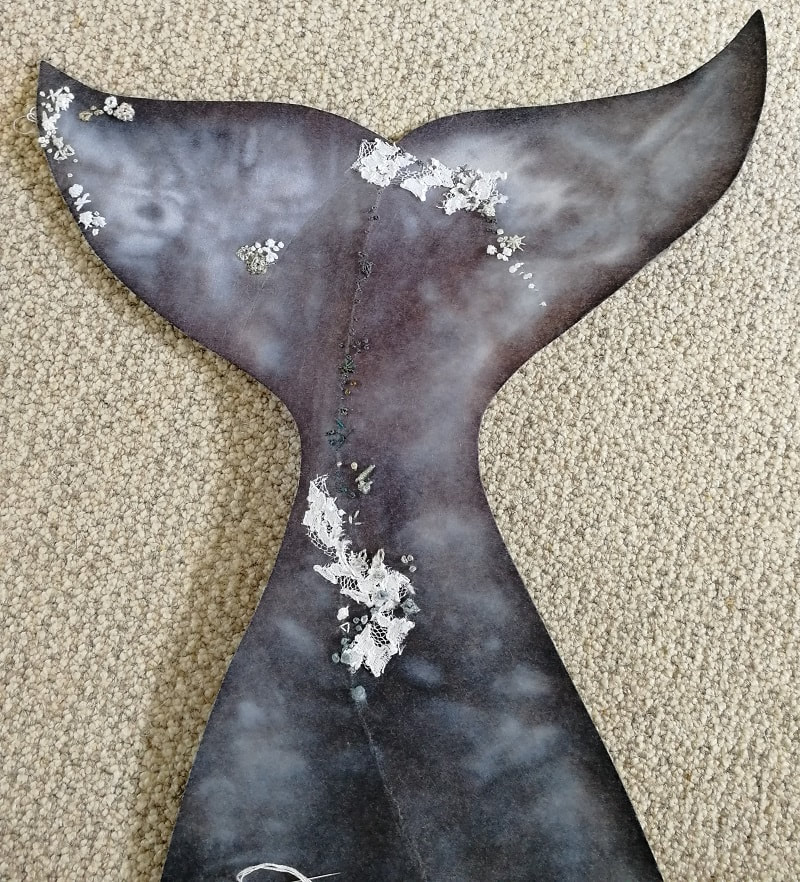
This is the tail section - made from two layers of dyed stiff non-woven interfacing. A single curved fold helps give the characteritic shape, and lots of French knots and assorted embroidery stitches create the gnarly surface.
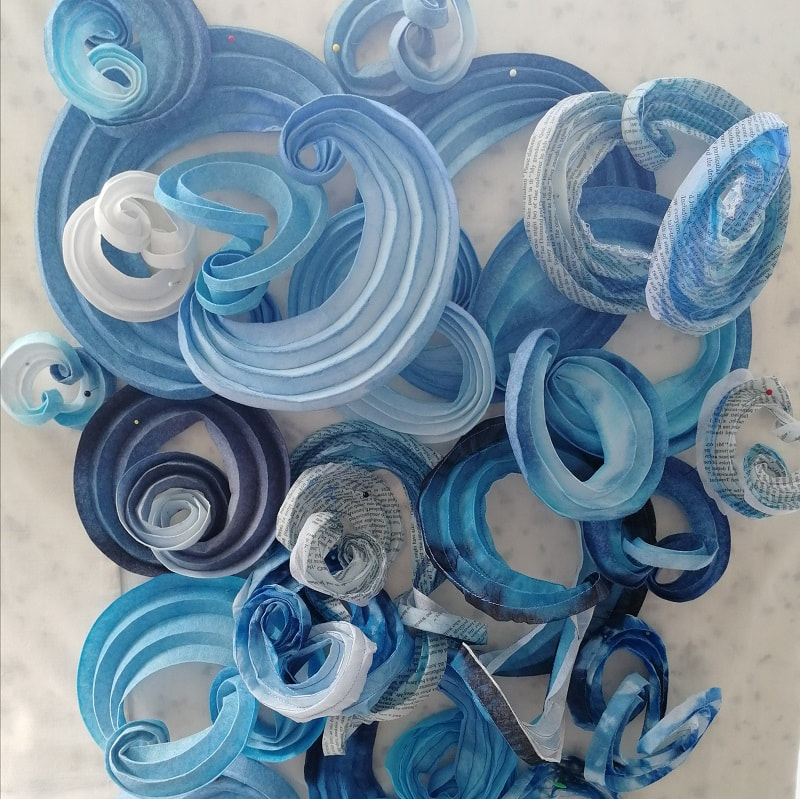
This is a close-up of the watery swirls which are made from a variety of different materials: paper, organdie, non-woven fabric and laminated organza. I have spent quite a while exploring how curved creases change the plane of a surface and this is the result. A gorgeous tangle of knots and swirls.
And finally, the net. I have watched fishermen making or repairing nets in the past and they make it look so easy.... guess what.... it isnt!!! This took 4 days of frustrated knotting, unknotting and then reknotting, but thanks to YouTube I got there in the end. The video above is a snapshot from around day 2! As this is a 3D piece it is easiest to get an idea of the whole thing with a video. It has been fun leaning how to make these short videos too. Thanks for reading. <a href="https://www.bloglovin.com/blog/21072771/?claim=b7hede7k62m">Follow my blog with Bloglovin</a> |
|


 RSS Feed
|
Copyright © 2011 to 2024 Claire Passmore. All rights reserved No artwork on this site may be reproduced, copied or stored without the express permission of Claire Passmore |

|